Debian by Sipeed
Introduction
This power pack is provided by partner Sipeed
It mainly includes the Debian mirror image based on the D1-H Nezha development board, including a graphical interface, which can be output to a normal display through HDMI or output to an 8-inch LCD screen through the MIPI interface.
It is also equipped with a microphone array and sound source localization algorithm demo, which can determine the direction of the sound, and display the direction and energy of the sound on the screen. At the same time, the LED lights in the corresponding direction will also light up.
Download mirror
Domestic users:
Link: https://pan.baidu.com/s/1-3CocbTUWPLi2XKrb87LpA Code:z4gn
Overseas users:
https://mega.nz/folder/RkwEGCqZ
Key:Ey1JbzslT56FlEyZ0Q_tig
The mirror will continue to be updated in this post: https://bbs.sipeed.com/thread/474
Please download the HDMI or MIPI firmware version according to your actual monitor settings.
Flash image to TF card
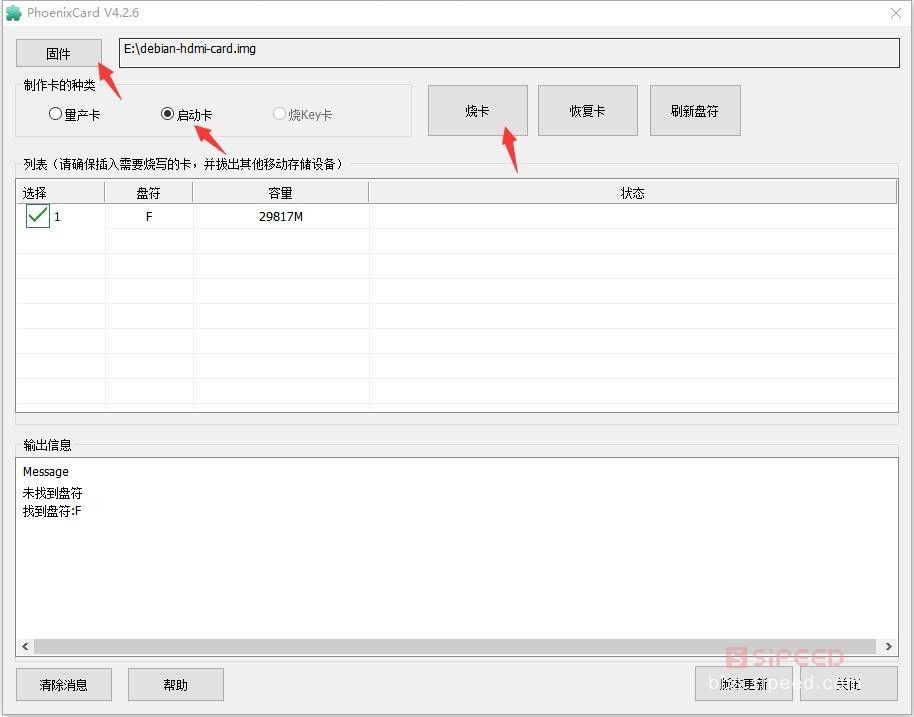
Download PhoenixCard.zip , the Allwinner card tool, unzip it and open it for use.
Download link: PhoenixCard download
Select the corresponding firmware file, check the boot card, and click "Burn Card" to burn.
The firmware file is about 4GB in size, and the card production time is about 15 minutes, please be patient
Optional operation: extend the partition size of the root file system:
Insert the card reader into the Linux system and perform the following operations to expand the partition size of the root file system: (The X in sdX represents your actual card reader drive letter)
sudo e2fsck -f /dev/sdX7
sudo resize2fs -p /dev/sdX7
Card boot
Insert the burned boot card into the TF card slot on the back of the D1-H Nezha development board, connect the HDMI display or MIPI screen, and the USB-A port can be connected to the mouse and keyboard for graphical interface operation.
Plug the USB-C cable into the OTG or Power port of Nezha to power on and start.
Advanced developers who need to view the serial port information can plug the USB2TTL cable included in the package to the DEBUG pin on the board, the black wire is connected to GND, the green wire is connected to RX, and the white wire is connected to TX.
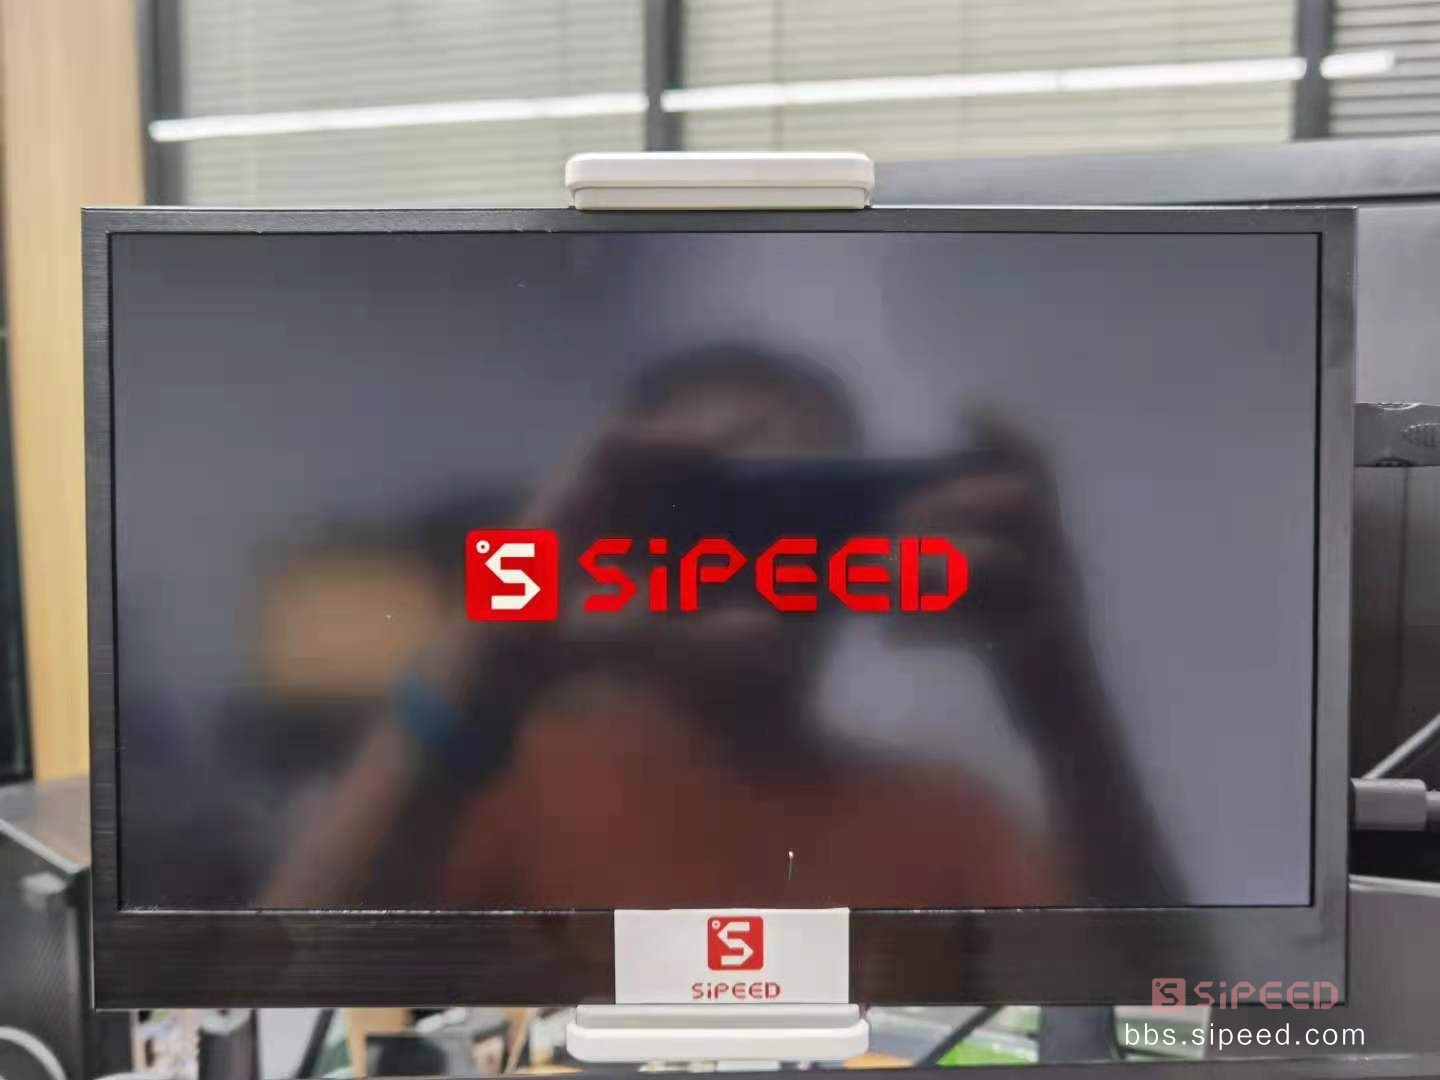
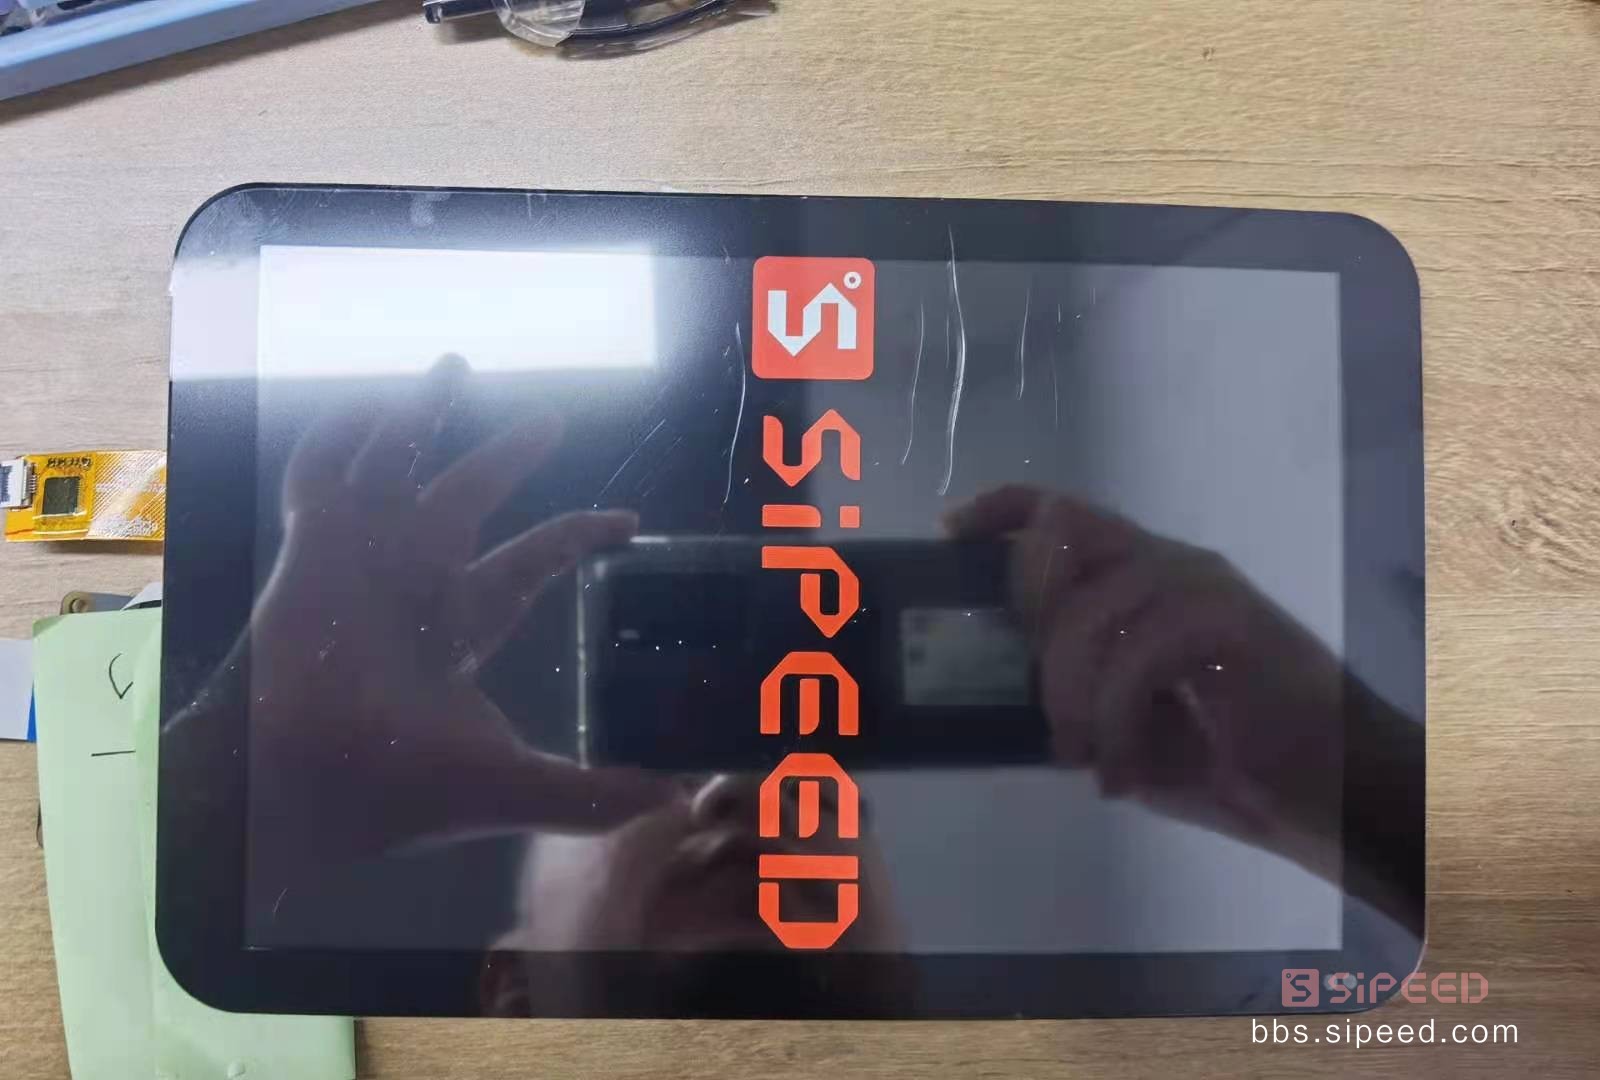
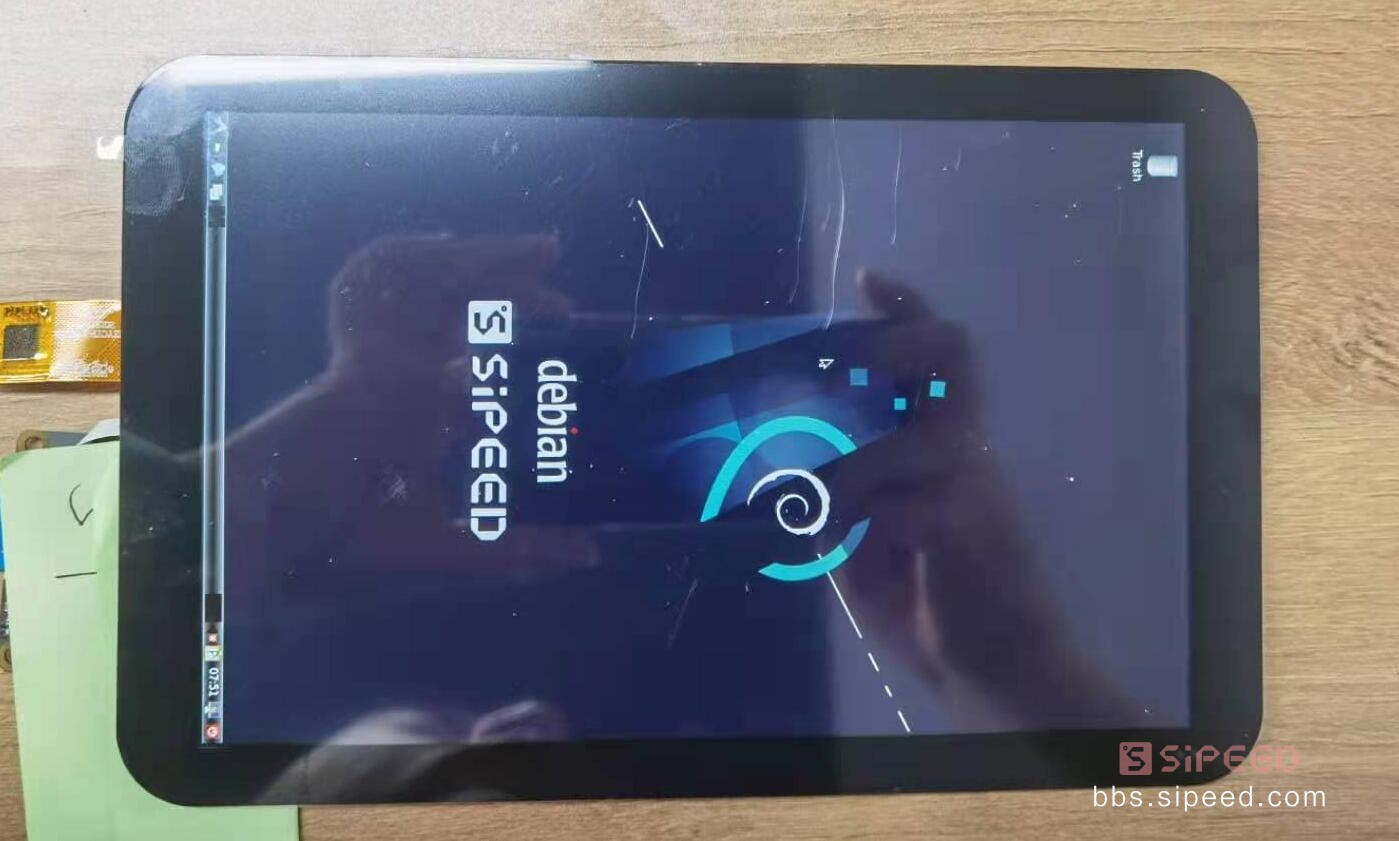
You can see the SIPEED logo on the screen after power-on for about 3 seconds:
Wait another minute or so to enter the login interface:
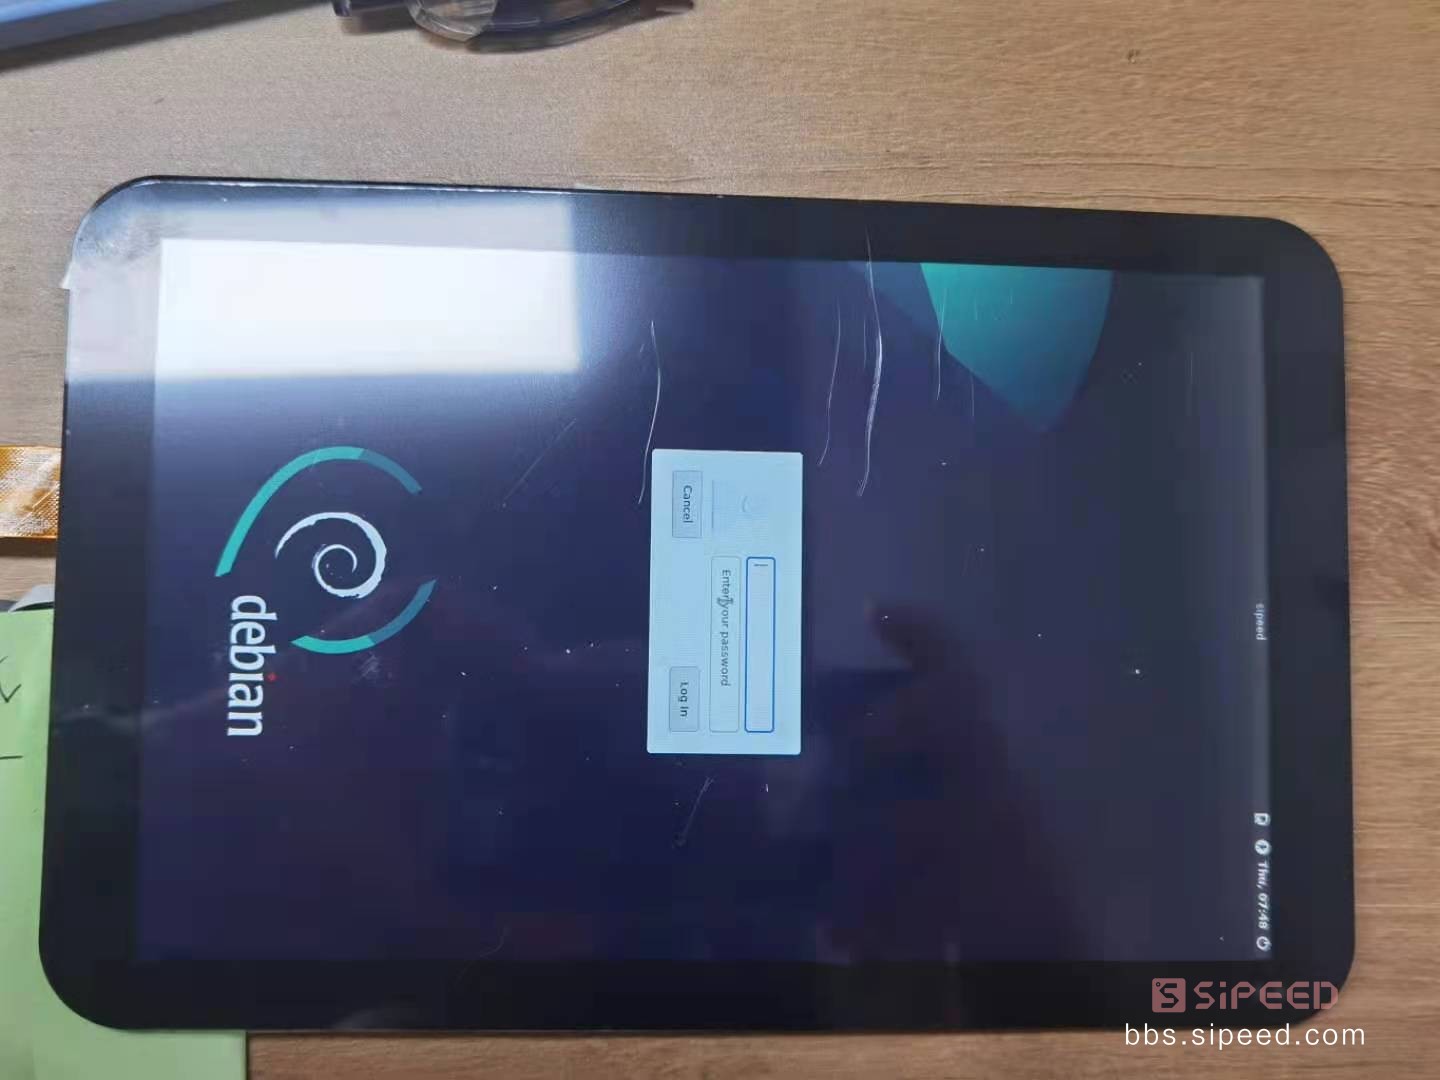
*Login account is sipeed or root, password is licheepi
Wait a moment to enter the desktop system
Basic use of debian
The basic use of D1-H nezha's debian is the same as the desktop's debian
Plug in the network cable to get the ip network automatically, and you can use apt to install and download the software package (sudo required)
Debian's built-in gcc tool chain also facilitates developers to compile locally on D1-H.
Note: Please be sure to use the normal shutdown process of Debian before power off. Abnormal power off may damage the file system on the TF card and cause the need to re-burn the image.

Microphone array demo program
The Debian mirror has a built-in microphone array demo program, version 0609, and users can also download the updated version 0610 on the network disk.
The demo program is the micarr program in the home directory of the sipped user. The method of use is as follows:
Usage: ./micarr [silent_th(2.0) mul_th(1.5) screenW screenH oftX oftY]
silent_th smaller to sensitivity, mul_th larger to highlight source
The user connects the microphone array board to the main board using an FPC cable and fixes it with a nut.
After running the demo program, the LED on the microphone array board will flash the R->G->B water lamp once, and then enter the sound field imaging demonstration.
A 128x128 pixel sound field imaging thermal image will be presented in the designated area of the screen, and the LED on the microphone array board will also simultaneously indicate the direction of the sound source.

Demo video:
https://www.bilibili.com/video/BV11g411G7Zi/
Original link
Original link:https://bbs.sipeed.com/thread/772